I recently had an opportunity to design & architect the Junos space applications demos on AWS setup. Find a briefing of how you can setup a Junos space server on AWS.
Goal: Creating a Junos Space, Network Director & Security Director setup on AWS.
Setting up VM instance on AWS
- Create a VPC on AWS with public & private subnets.
- Launch a CentOS VM using a AWS community CentOS image.
- Use EC2 m3.xlarge instance type with block storage type as SSD for better IOPS.
- Assign the VM to the private subnet.
- Once the VM instance is started assign a secondary private IP using the “Manage private IP address” interface.
- Take a note of the IPs, network mask & gateway assigned to the instances. Shutdown the VM & detach the block storage volume from the VM.
Setting up space & importing to AWS
- Use Virtualbox or VMware fusion to create Space setup. Create a hostonly network having the same network settings as in your VPC subnet where the VM instance was created.
- Create a new Linux VM instance & provide space vmdk file as the disk image.
- Junos Space needs to be configured when the VM boots. Provide the same IP’s assigned to the VM instance on AWS while configuring the IP for Junos space.
- Verify whether Junos space UI comes up fine.
- Downgrade the Junos space kernel to AWS compatible OS/kernel version. You can download & install default kernel for the CentOS version manually or setup YUM on the Junos space VM and do yum install of the kernel. After downgrading the kernel make sure to remove the old kernel entry from the Grub.
- Once the above tasks are successfully finished export the Junos space VM to ova 2.0 file.
- Create a AWS S3 bucket where you can import a disk image.
- Import the vmdk file within the exported ova to AWS using the ec2 command tool ec2-import-volume command.
Integrate Junos space VM with AWS setup
- Attach the imported Junos space volume to the CentOS VM instance created on AWS. The volume needs to be attached to /dev/sda.
- Start the VM instance. Wait for sometime & view the status of the VM using the syslog provided as a part of EC2 instance option.
- Once the VM is started successfully a AWS Load balancer needs to be created to access the SSH console & HTTP interfaces on the VM.
- Create an AWS load balancer instance & proxy the SSH/HTTPS ports on the VM instance to the load balancer.
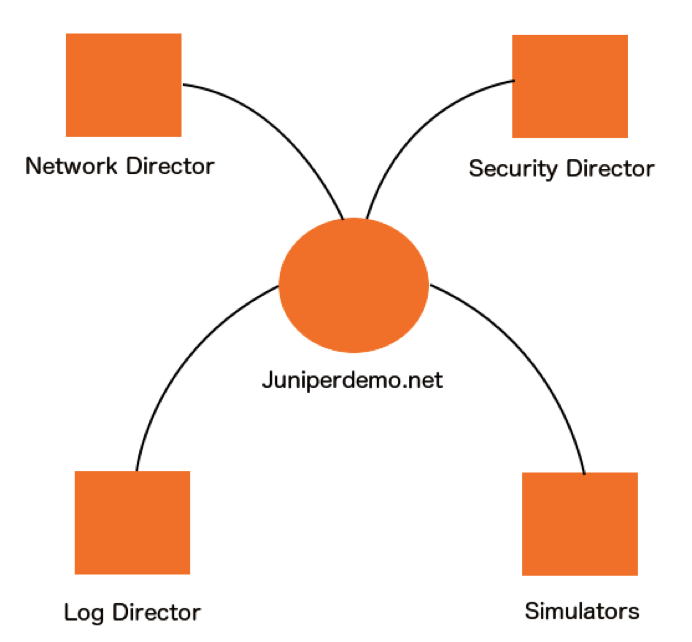
- After creating the load balancer, the load balancer’s DNS name needs to be mapped to a simple domain name. Register a domain name juniperdemo.net (your domain) using AWS Route53 & create a ARecord with alias setting where the load balancers DNS name is mapped to juniperdemo.net.
Announcement in juniper forum
Leave a Reply